I love a good flat lay and ironic enough, I’ve never made one. OK, SO maybe I have made one before, but never shared it on the blog or social media because I didn’t think I’d mastered it. After looking for much inspiration on Instagram and figuring out what key elements go into making the perfect flat lay – I’m proud to say, I’ve got it down. So grab something to sip on and let’s jump right in!
Making the perfect flat lay can be done in 4 easy peasy steps:
1.STEP 1: SETTING A FOUNDATION
2. STEP 2: FILLLING IN THE GAPS
3. STEP 3: FILLING IN THE GAPS (SOME MORE)
4. STEP 4: LAYERING AND STACKING
I’ll be talking about each one of these in a bit, so even before you get started with your flat lay you need to frame it! What I mean by that is you’ll need to outline the borders of the flat lay and figure out what will be included and what will be cut out of the photo. One way to create the perfect frame for a flat lay (GREAT for Instagram ESPECIALLY) is by using the Iphone camera’s square setting as a guide (See picture below). I’m telling you, this makes the perfect border to build your flat lay in every single time. It’s even better if you use your cell phone to take the picture. Side note: all of the pictures in this post were taken on my phone, which is a first for me. You can also use a DSLR to take the photo, but I’d start by taking the picture on your phone and using that as a reference for how to crop the digital SLR photo when you’re done. Alright, now onto the good stuff. Here we go!

FOUNDATION: 3 LARGE ITEMS
You can use any thing you’d like to use in your flat lay. The one I’m making is a beauty product flat lay incorporating goodies from Sephora Canada. That was the theme I went with, but you are free to do what you like – All food flat lays, all coffee flat lays – you name it.
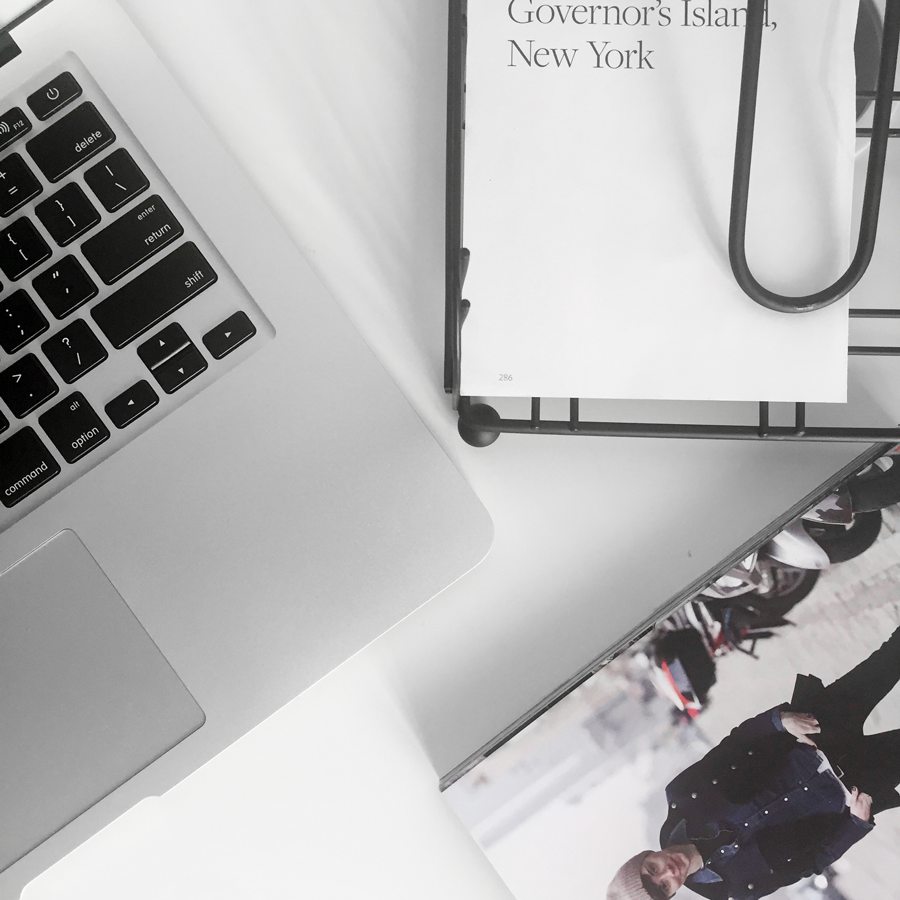
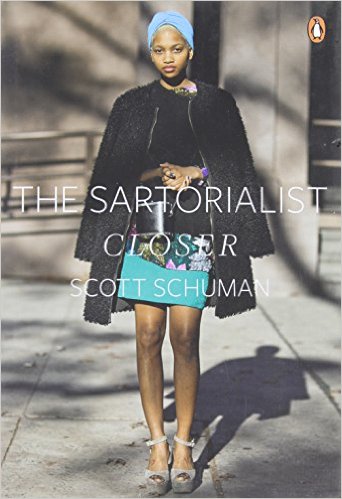
Once you’ve identified the surface for your flat lay (I’m using my white IKEA desk), find three large items that will serve as the flat lay’s foundation. In this example I’m using my laptop, a desk paper tray, and a page from the Sartorialist book by Scott Shuman. Arrange the items however you want, but do keep in mind that if you don’t have many items to incorporate into the photo it’d be best to arrange the foundational items closer together. You’ll see why in a bit.
Also, notice that although the wide shot looks more like the first or second picture in this blog post, I’ve cut off a majority of my laptop, tray and book to create a tighter frame for my flat lay. I personally like a flat lay better when there are elements cut off and hidden, but it’s completely up to you 😉
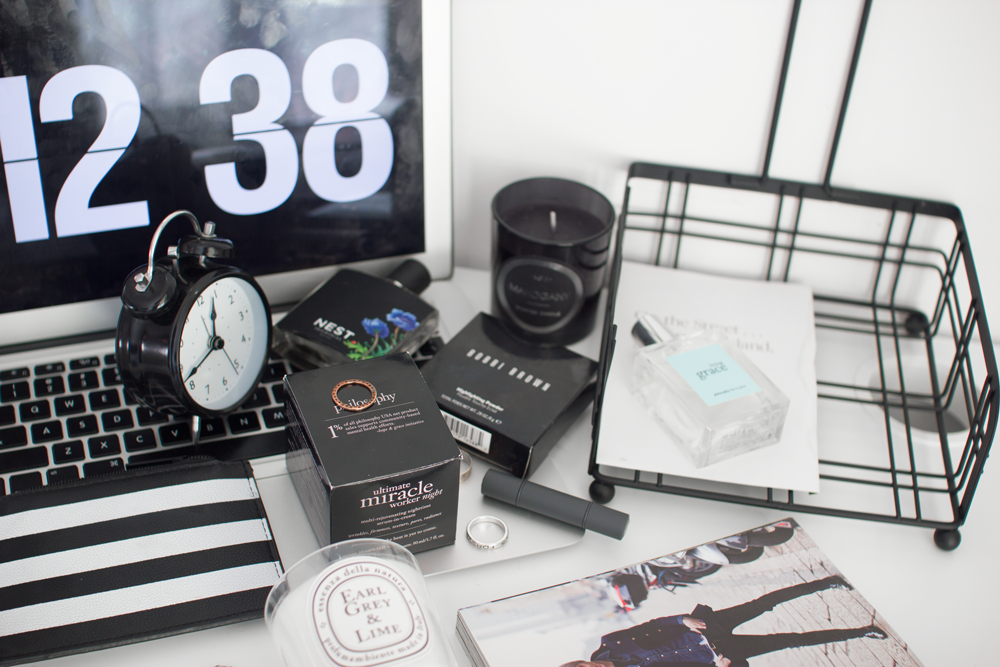
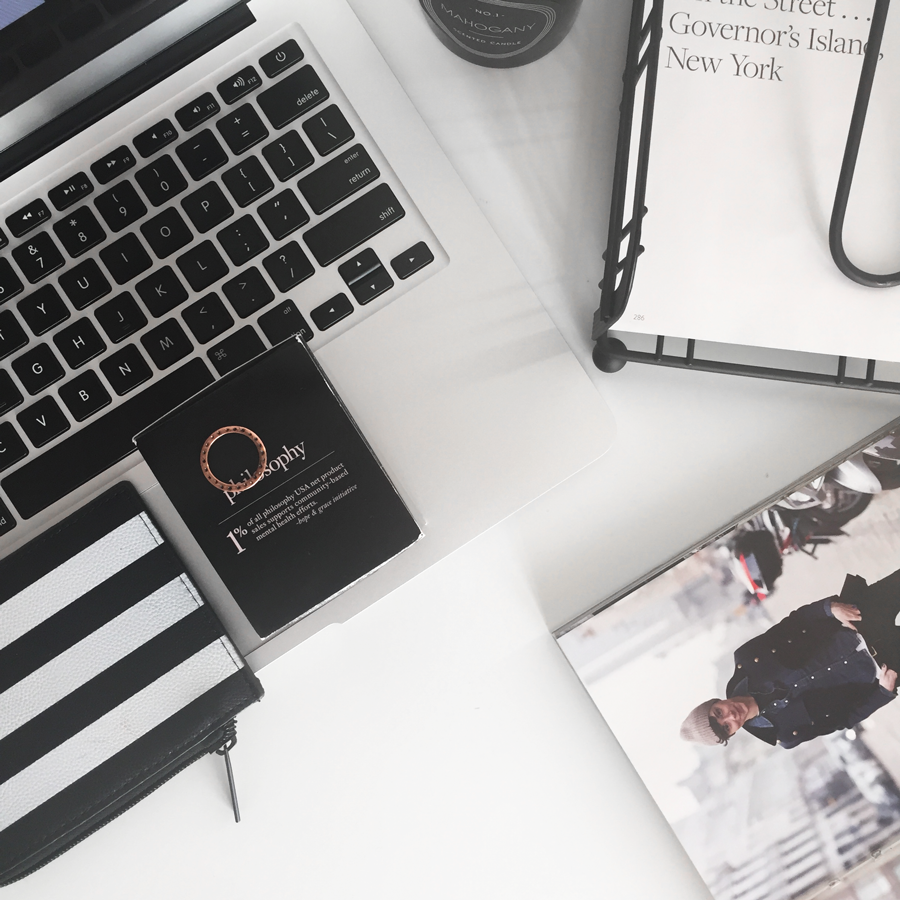
This is the fun part. After your 3 foundation items are in place, look for the white space in the frame and FILL IT IN. I consider the mouse pad area on the laptop white space because it blends in with my table since there isn’t a large enough contrast. This is where you’ll want to find medium sized items (medium sized in reference to your foundation items) – to use to fill in the white space. Choose items with different dimensions to create visual appeal. Go for some 3D items, like the Philosophy night cream box below and the candle hidden between the laptop and the tray. Don’t be afraid, again, to play outside of the lines.
The ring was me jumping the gun and doing some embellishing, but we’ll get there.
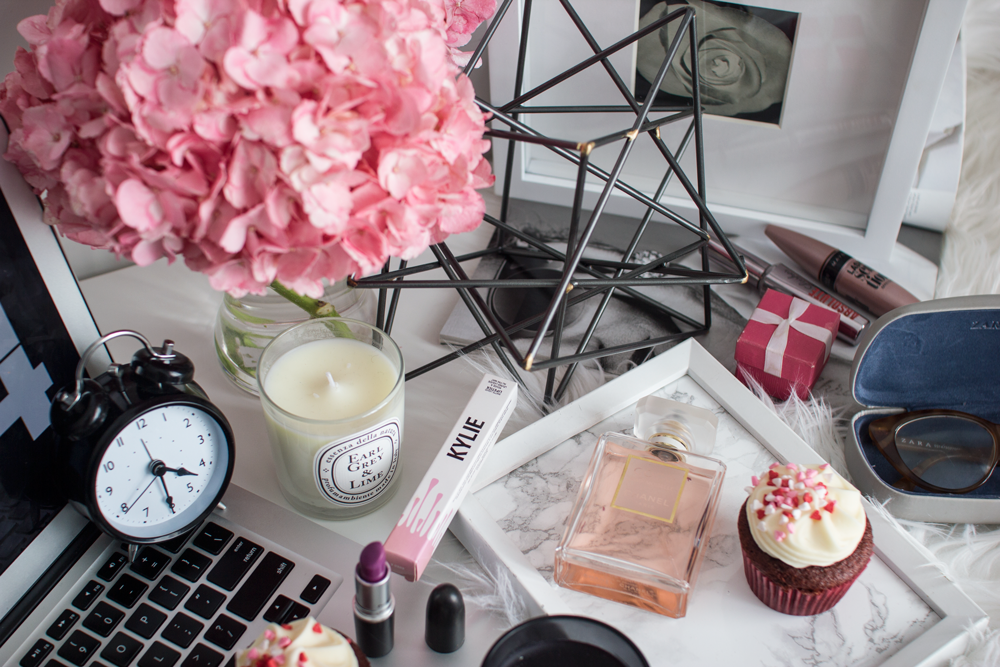
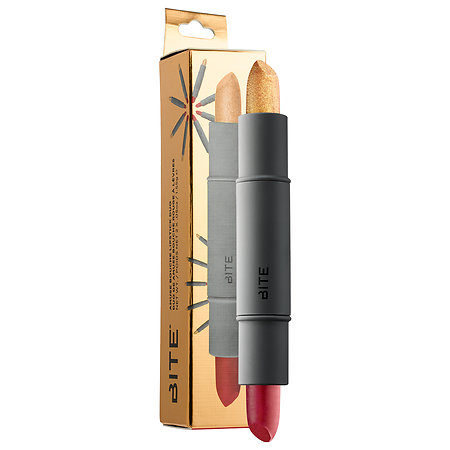
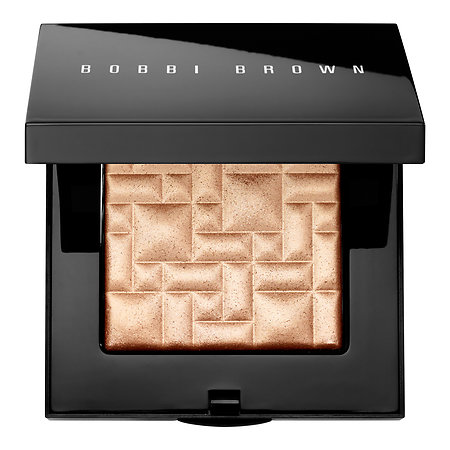
Once you’ve begun the process of filling in the gaps, KEEP GOING. At this stage you will want to continue with the medium sized items, but also begin going in with smaller items. In the picture below, I incorporated another candle (laying on it’s back this time), a Bite beauty lipstick and my new favourite Bobbi Brown bronze glow bronzer to fill in the remaining white space.
Here’s a bonus tip: rings, bracelets and flowers work well as flat lay embellishment items to fill in gaps – Trust me ; )
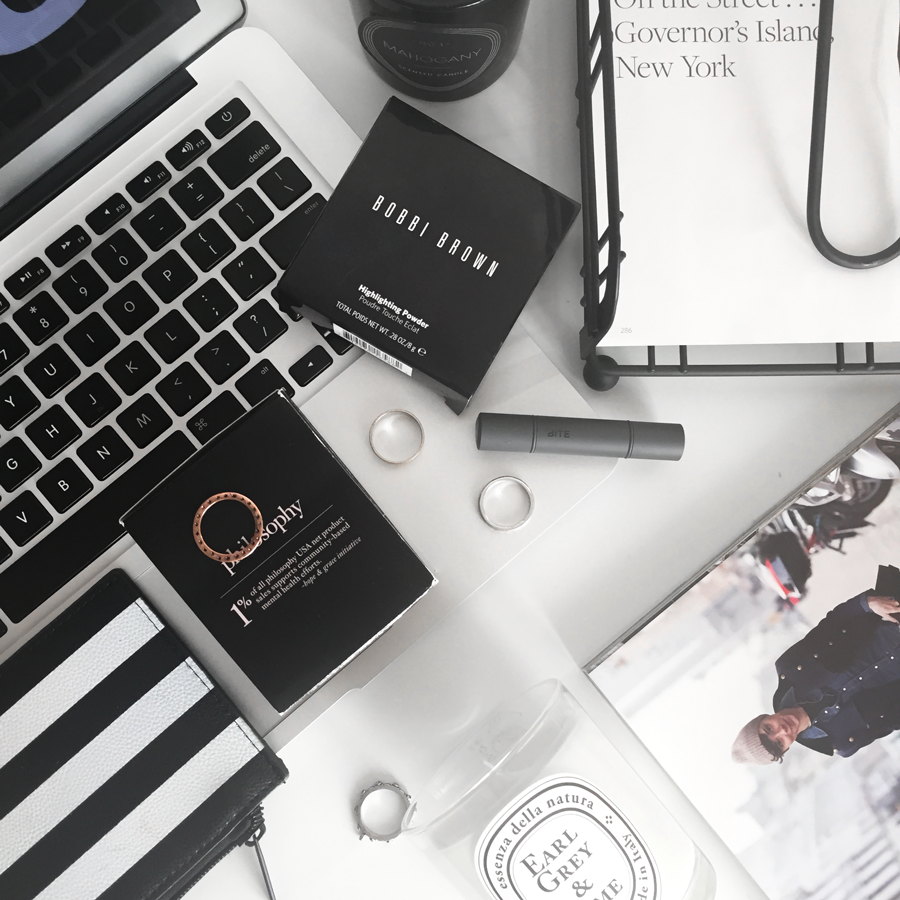
Were almost done! Once you’ve filled in as much of the white space as you are visually comfortable with, find some more items to stack on top of the first three foundational items you started with. In this example, you’ll see me start to stack on top of my paper tray as well as on my laptop’s key board. I could have gone in with something on top of the Sartorialist book photo, but I opted for a less crowded flat lay this day.
We’re done! This is the finished product and I think she looks lovely. I had so much fun learning how to make flat lays and though it took me over a month to solidify the process – I’m sure happy I did! All the items featured in the flat lay will be found down below. Thanks for dropping by, until next time!

Featured Items


20 replies on “Flatlay styling: How to create the perfect flatlay”
I definitely needed these tips as I suck at it! Thanks for sharing! Nikki x
You’re so welcome!
Great post! And I’m in love with that bronze glow too!
Thanks for visiting love! Ain’t that highlight poppin!
Great tips for bloggers and Instagrammers! It looks easy, but anyone who’s tried it knows it’s definitely not! Thanks for sharing 🙂
I needed this too. Lighting is a big problem for me too.
flatlays are some of favorite photos to take, I love this post that you did!
timelesschic.net
xoxo
It took me a moment to figure out what you mean by a flat lay lol but thanks for the tips. Will definitely try them
Thank you for this! I’m always working on getting better photos. Mine can look rather boring.
Awesome tips i really needed this.Thanks for sharing.
I didn’t know that this process was called a flat lay, until I kept reading! Very informative post. Thanks
You did great here! And you really make the right balance for your flatlays. Mine is just put it together and capture the best angle of flatlays ☺
Superb tutorial.Will thank you forever for this. 3 large thongs. White space.Middle sized .Then small
I’ve only tried my hand at flat lays a few times. I was amazed at how you could create different photos from one well arranged flat lay. Thanks for these tips!
Thanks for sharing these tips. I always want to have a great picture.
I am absolutely hopeless at this and always admire some of the flat lays that I see on Insta. Thanks for showing some of us clueless people how its done. will definitely be trying this.
Awesome tips. My photos always look so blah, but with these steps I can step up my photography game. Thank you for sharing!
I’m so happy that you gave us an insight on getting the perfect flat lays clicked. This is really helpful. 🙂 I prefer to capture from the insta-camera rather than the normal ph.camera and then edit it and save it to the gallery for further more edits.
beforbeauty.com
I love these kind of posts! And I love these tips. Gonna use them tomorrow for my flatlay!
It’s nice to see there is some kind of formula for it. I like some of the ones I have seen some are a little to busy that it’s distracting.